1). Poor Print Quality (Faded/Blurred Text)
Possible Causes & Solutions:
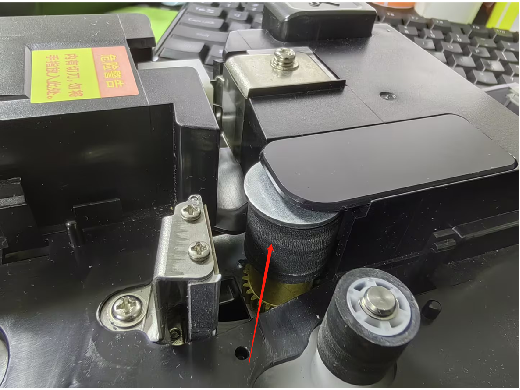
A. Dirty Print Head/Roller
Power off the device.
Clean the print head and print roller thoroughly with an alcohol swab.
Test print after cleaning.
B. Worn or Damaged Components
If print quality remains poor:
Scratched/Worn Print Head → Replace the print head.
Worn/Damaged Print Roller → Replace the roller.

Solutions for Poor Print Quality
A. Faulty Ribbon/Consumables
Solution: Replace with a new ribbon or compatible consumables.
B. Low Ambient Temperature
Solution:
Move the printer to a warmer location.OR Install a sleeve heater (if applicable).
C. Dirty Print Head or Roller
Solution:
Clean the print head and roller with an alcohol swab or lint-free cloth.
D. Damaged Print Head
Solution: Replace the print head (return to factory if under warranty).
E. Material Too Hard
Solution: Switch to a softer consumable material compatible with the printer.
2). Ribbon Not Rewinding or Ribbon Breakage
Possible Causes & Solutions
1. Ribbon Quality Issue
Symptom: Ribbon fails to rewind or breaks during printing.
Troubleshooting:
Replace with a new ribbon to determine if the issue persists.
If resolved → Defective ribbon (use certified replacements).
If problem continues → Check printer mechanism (see below).
2. Misaligned or Loose Take-up Shaft
Symptom: Ribbon skews or snaps due to improper alignment.
Solution:
Realign the take-up shaft to ensure parallelism with the supply shaft.
Tighten the internal assembly screws to prevent wobbling.
3. Tension System Failure
Symptom: Ribbon too loose (won’t rewind) or too tight (breaks).
Solution:
Inspect tension components (e.g., springs, friction plates).
Manually adjust tension to moderate resistance.
A. Poor-Quality Ribbon
Solution: Replace with a new, high-quality ribbon and test.
B. Faulty Middle Frame
Solution: Replace the middle frame assembly to ensure proper ribbon path alignment.
C. Persistent Ribbon Breakage After Multiple Replacements
Solution: Return to the factory for professional inspection and repair.
3). White line while printing.
Print Quality Issues & Solutions
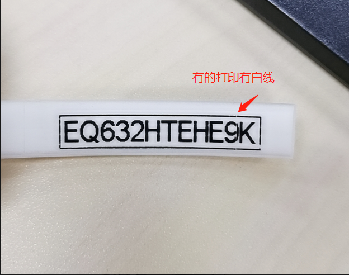
A. Intermittent White Lines
Cause: Improper character spacing/margins
Solution: Adjust font size or margin settings to relocate white lines to blank ares
B. Irregular Horizontal White Lines
Root Cause: Insufficient print head pressure
Resolution: Requires factory service for print head pressure calibration
(Note: Not user-adjustable - must return to manufacturer)
C. Severe/Persistent White Lines
Recommended Actions:
a) First attempt firmware upgrade to latest optimized version
b) If unresolved, factory inspection required for:Print head alignment
Component wear evaluation
Pressure system diagnostics
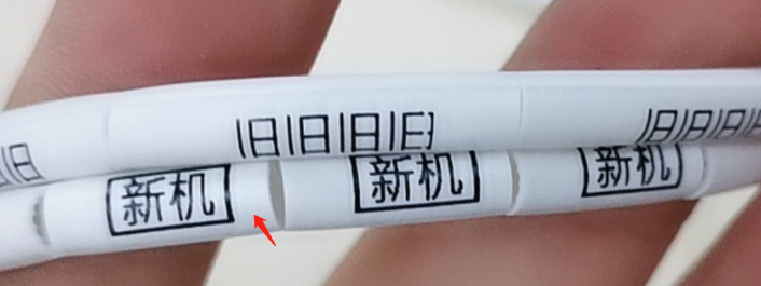
4). Font Compression After Multiple Prints?
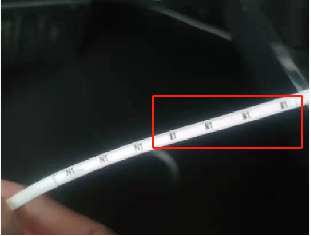
A. Filament tension caused by improper placement → Use a fixed holder for proper storage.
B. Compression issues even with correct placement → Restart the machine or perform initialization to check for resolution.
C. Slippage due to worn feed rollers → Replace the feed rollers.
5). "Top Cover Open" Warning

A. The top cover sensor is detached, causing printing failure — In the function menu, press Shift + F + R to disable cover detection. (For older models)
B. The new mid-frame has been redesigned, and the switch has been removed. (No action required for newer models)
6)."Ribbon Error" Prompt?
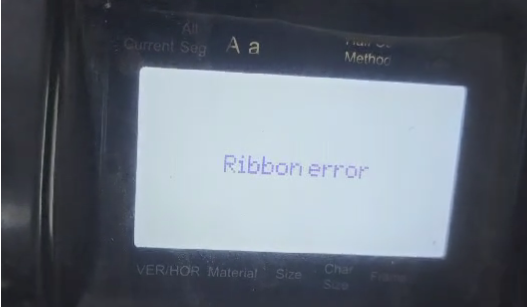
A. Ribbon chip detached → Reinstall the ribbon chip.
B. Duplicate ribbon chip ID → Replace with a new ribbon.
C. Non-OEM ribbon chip → Purchase an OEM ribbon.
D. Wrong ribbon model for machine → Switch to the correct model.
E. Encrypted ribbon version failure → Replace the encrypted module (requires factory service).
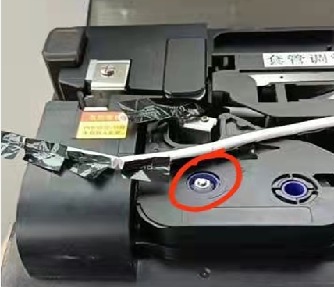
7)."No Ribbon Detected" Prompt?
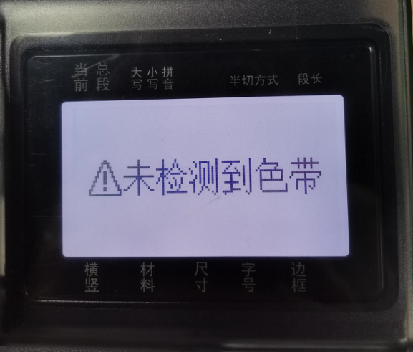
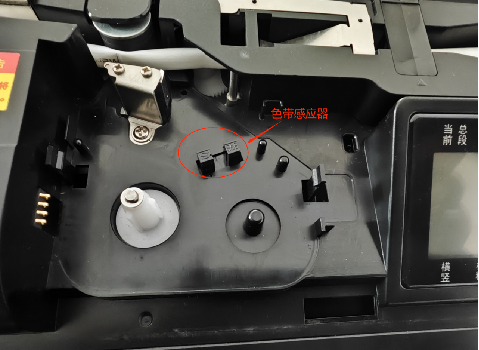
A. Ribbon not installed/improperly installed → Reinstall correctly.
B. Ribbon sensor damaged → Factory repair or temporarily block the sensor.
。
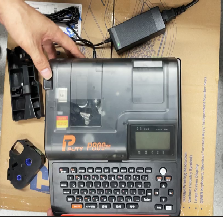
8): Machine Can’t Power On?
First check if the adapter works. If the adapter is functional, the issue is usually caused by:
Loose power board socket solder joints, or Faulty TVS diode on the power board.
Solutions:
Adapter not plugged in properly → Check adapter indicator light.
Non-OEM adapter used → Voltage issues may cause capacitor failure.
Adapter damaged → Replace adapter.
Power switch damaged → Factory repair required.
Loose solder on switch motherboard → Factory repair required.
9). Material Jammed in Roller?
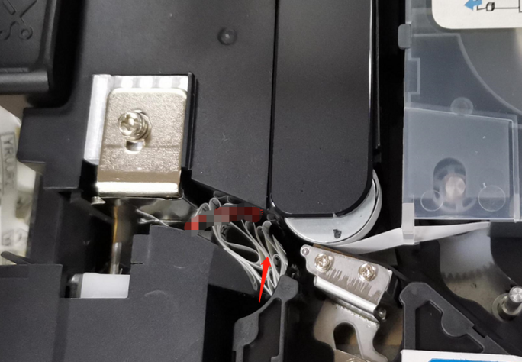
Open the knob, remove the ribbon, press Shift + Reverse to retract the jammed material.
10). Print Not Centered?
Horizontal misalignment → Adjust left/right print position in settings.
Vertical misalignment → Adjust up/down print position in settings.
Still misaligned after adjustment → Roller slippage (factory service required).
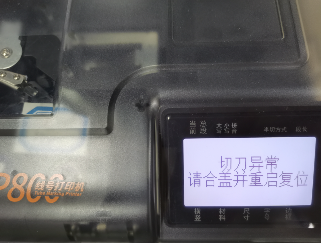
11). "Cutter Error" Prompt
Restart the machine to reset the cutter. If the issue persists:
If the cutter is ok, shut down and restart the machine to return the cutter to its original position.
If the fault still occurs, disassemble the machine to check the cutter detection board and drive motor chip u11 (mainboard position number) to eliminate the fault.
Restart first → Check if normal operation resumes.
Foreign object in cutter gears → Clean and restart.
Faulty cutter chip (U11 on motherboard) → Factory repair required.
12). "Material Error or No Material Detected" Prompt?

Material not installed/improperly installed → Reinstall correctly.
Unsupported material color → Disable material detection in settings.
Material sensor damaged (older models) → Factory repair or block the sensor.
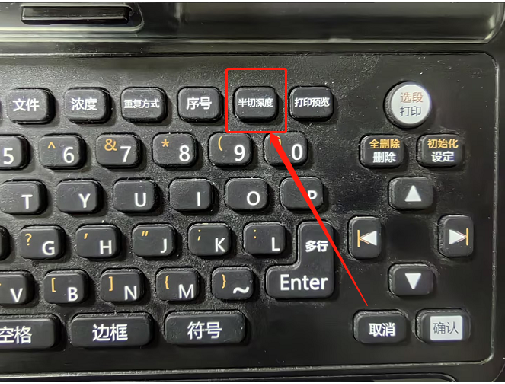
13). Half-cutting not work ?
Adjust the half-cutting depth to improve the effect. If maximum depth adjusted still fails, then replace the:
Half-cutter blade set, and cutting guard plate.

14). No Tube Feeding / Print Compression / Cutting Into Text
If cleaning the rollers doesn’t help, replace the printer roller.